
Image Source: Google
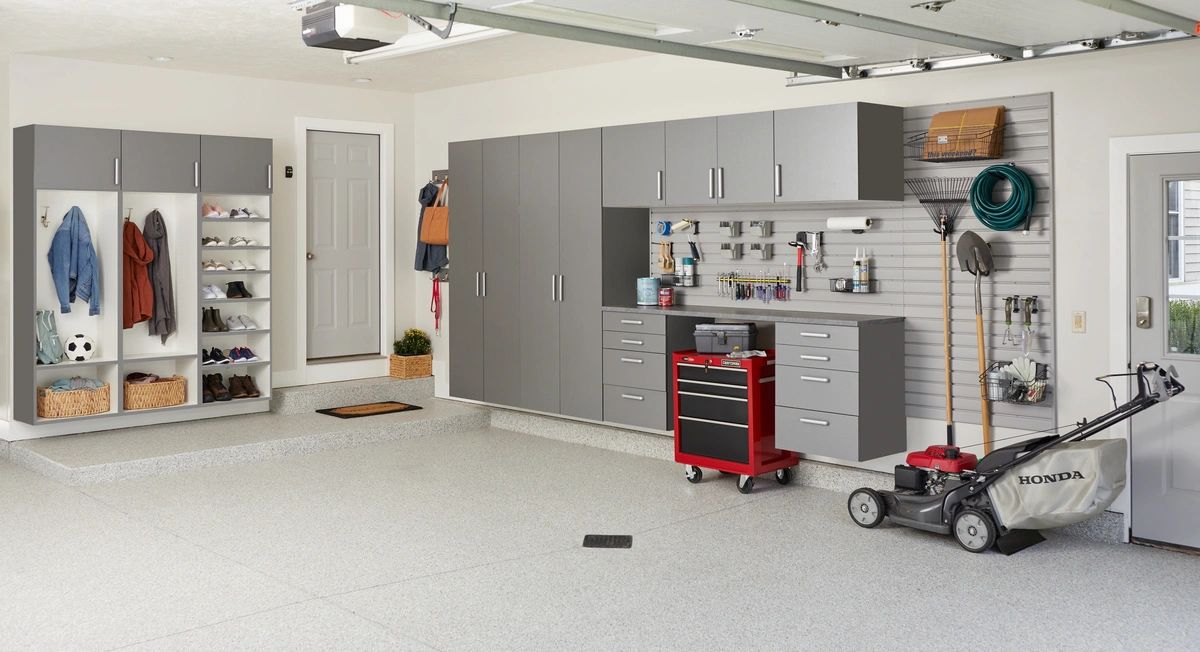
When it comes to upgrading your garage floor, opting for a DIY concrete coating can be a cost-effective way to achieve a professional finish without breaking the bank. With the right materials and techniques, you can transform your garage into a clean, durable, and visually appealing space.
Here are some tips on how to achieve a professional finish on a budget with DIY garage concrete coatings:
The first step in the process is to properly prepare the surface of your garage floor. This involves cleaning the floor thoroughly to remove any dirt, oil, grease, or other debris. You can use a degreaser and a pressure washer to ensure that the surface is clean and ready for coating. It is essential to allow the floor to dry completely before moving on to the next step.
Next, you will need to repair any cracks or damage to the concrete surface. Use a concrete patching compound to fill in any cracks or holes, and then smooth it out with a trowel. It is crucial to allow the patching compound to dry completely before proceeding with the coating process. This step will help ensure that your garage floor has a smooth and even surface for the coating to adhere to.
Before applying the concrete coating, it is essential to choose the right type of product for your garage floor. There are various options available, including epoxy, polyurea, and polyaspartic coatings. Epoxy coatings are popular for their durability and resistance to chemicals and stains, while polyurea and polyaspartic coatings offer fast curing times and high abrasion resistance.
In conclusion, achieving a professional finish on a budget with DIY garage concrete coatings is achievable with the right materials and techniques. By properly preparing the surface, selecting the appropriate coating product, and following the application instructions, you can transform your garage into a clean and durable space.